
Micro Frontend base plugin for Tutor
This plugin makes it possible to easily add micro frontend (MFE) applications on top of an Open edX platform that runs with Tutor. To learn more about MFEs, please check the official Open edX documentation.
In addition, this plugin comes with a few MFEs which are enabled by default:
- Authn
- Account
- Communications
- Course Authoring
- Discussions
- Gradebook
- Learner Dashboard
- Learning
- ORA Grading
- Profile
Instructions for using each of these MFEs are given below.
Installation
tutor plugins install mfe
Usage
To enable this plugin, run:
tutor plugins enable mfe
tutor local launch
When running the plugin in production, it is recommended that you set up a catch-all CNAME for subdomains at the DNS provider: see the Configuring DNS Records section in the Tutor documentation for more details. This way, the plugin will work out of the box with no additional configuration. Which is to say, if your LMS_HOST is set to myopenedx.com the MFEs this plugin provides will be accessible under apps.myopenedx.com by default.
To check what the current value of MFE_HOST is actually set to, run:
tutor config printvalue MFE_HOST
Authn
This is a micro-frontend application responsible for the login, registration and password reset functionality.
Account
An MFE to manage account-specific information for every LMS user. Each user's account page is available at http(s)://{{ MFE_HOST }}/account. For instance, when running locally: https://apps.local.edly.io/account.
Communications
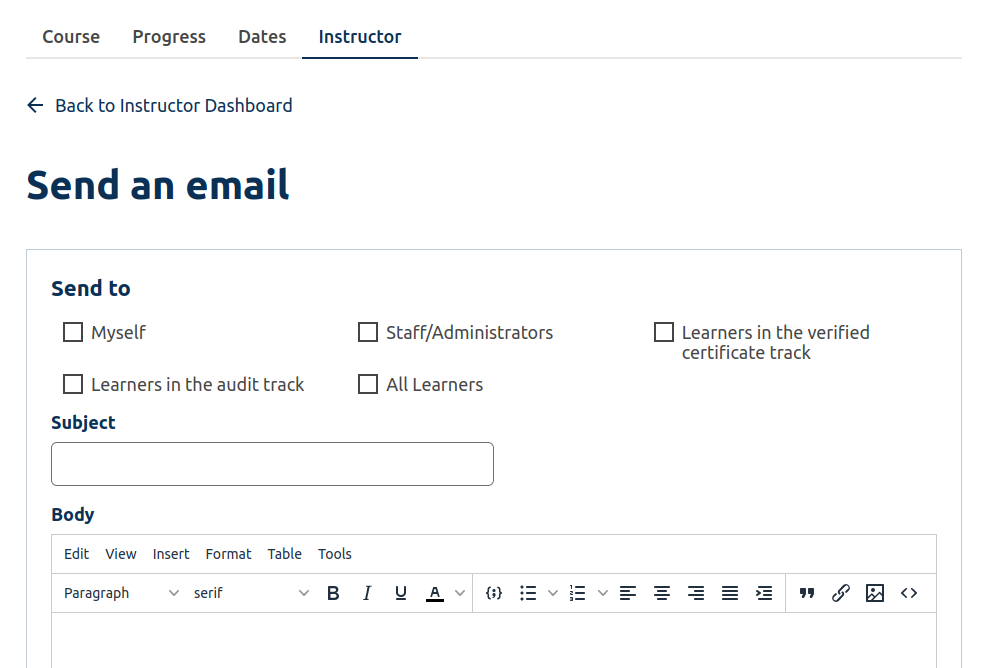
The Communications micro-frontend exposes an interface for course teams to communicate with learners. It achieves this by allowing instructors to send out emails in bulk, either by scheduling them or on demand.
Course Authoring
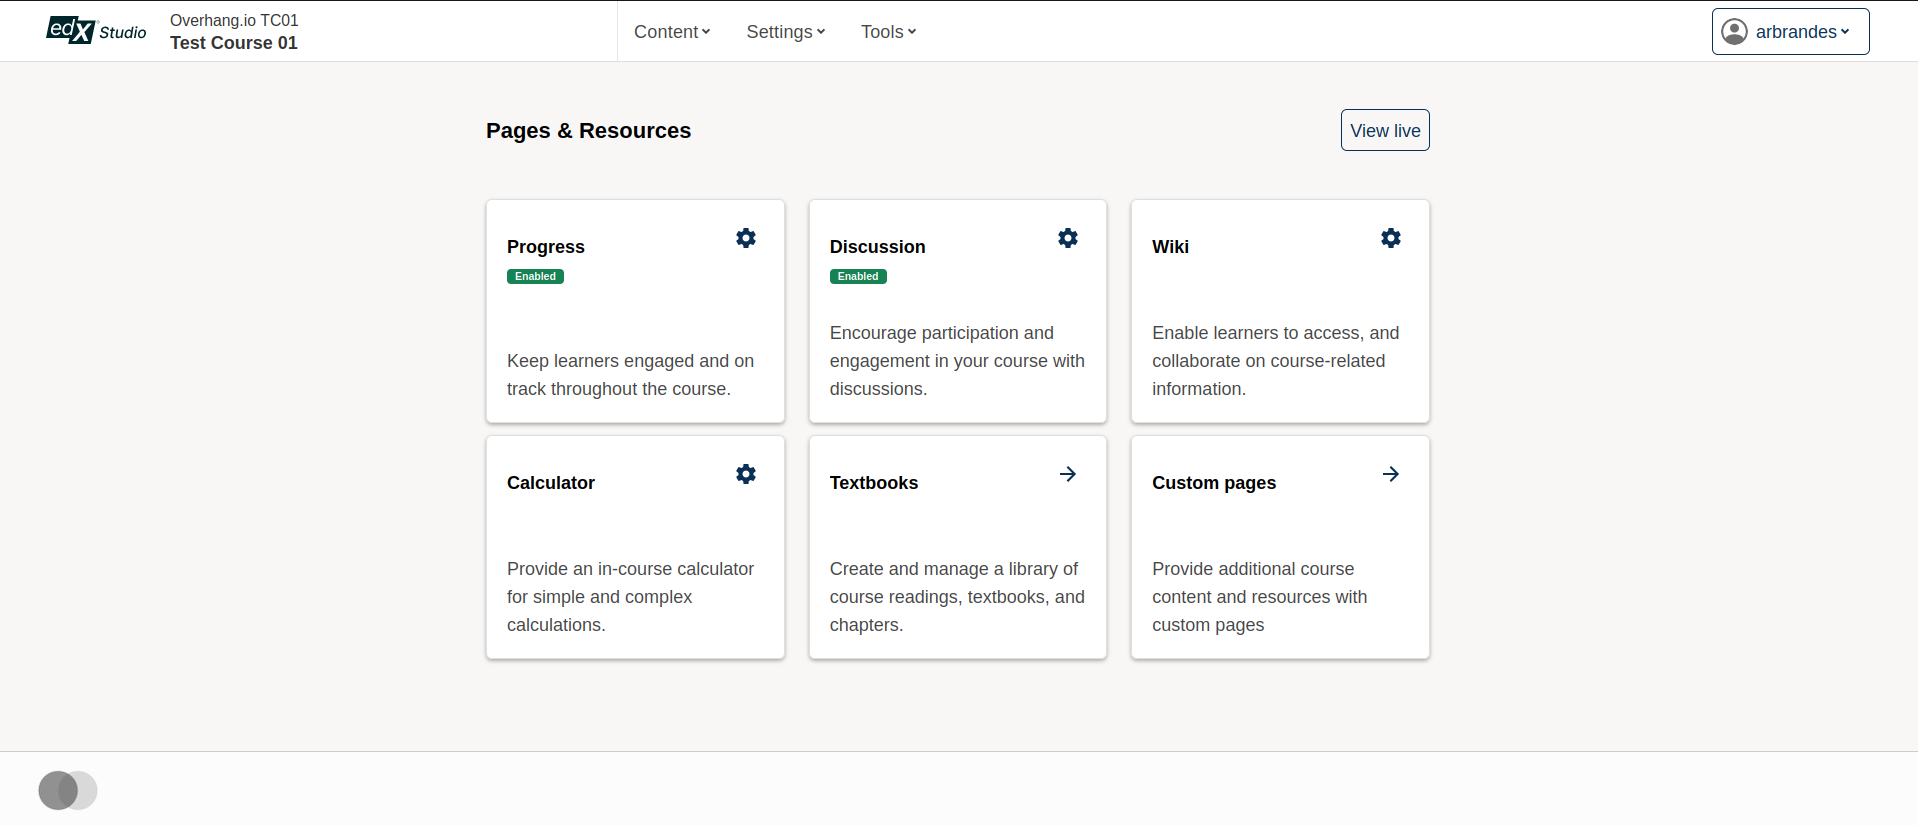
This MFE is meant for course authors and maintainers. For a given course, it exposes a "Pages & Resources" menu in Studio where one can enable or disable a variety of features, including, for example, the Wiki and Discussions. Optionally, it allows authors to replace the legacy HTML, Video, and Problem authoring tools with experimental React-based versions, as well as exposing a new proctoring interface that can be enabled if the edx-exams service is available.
Discussions
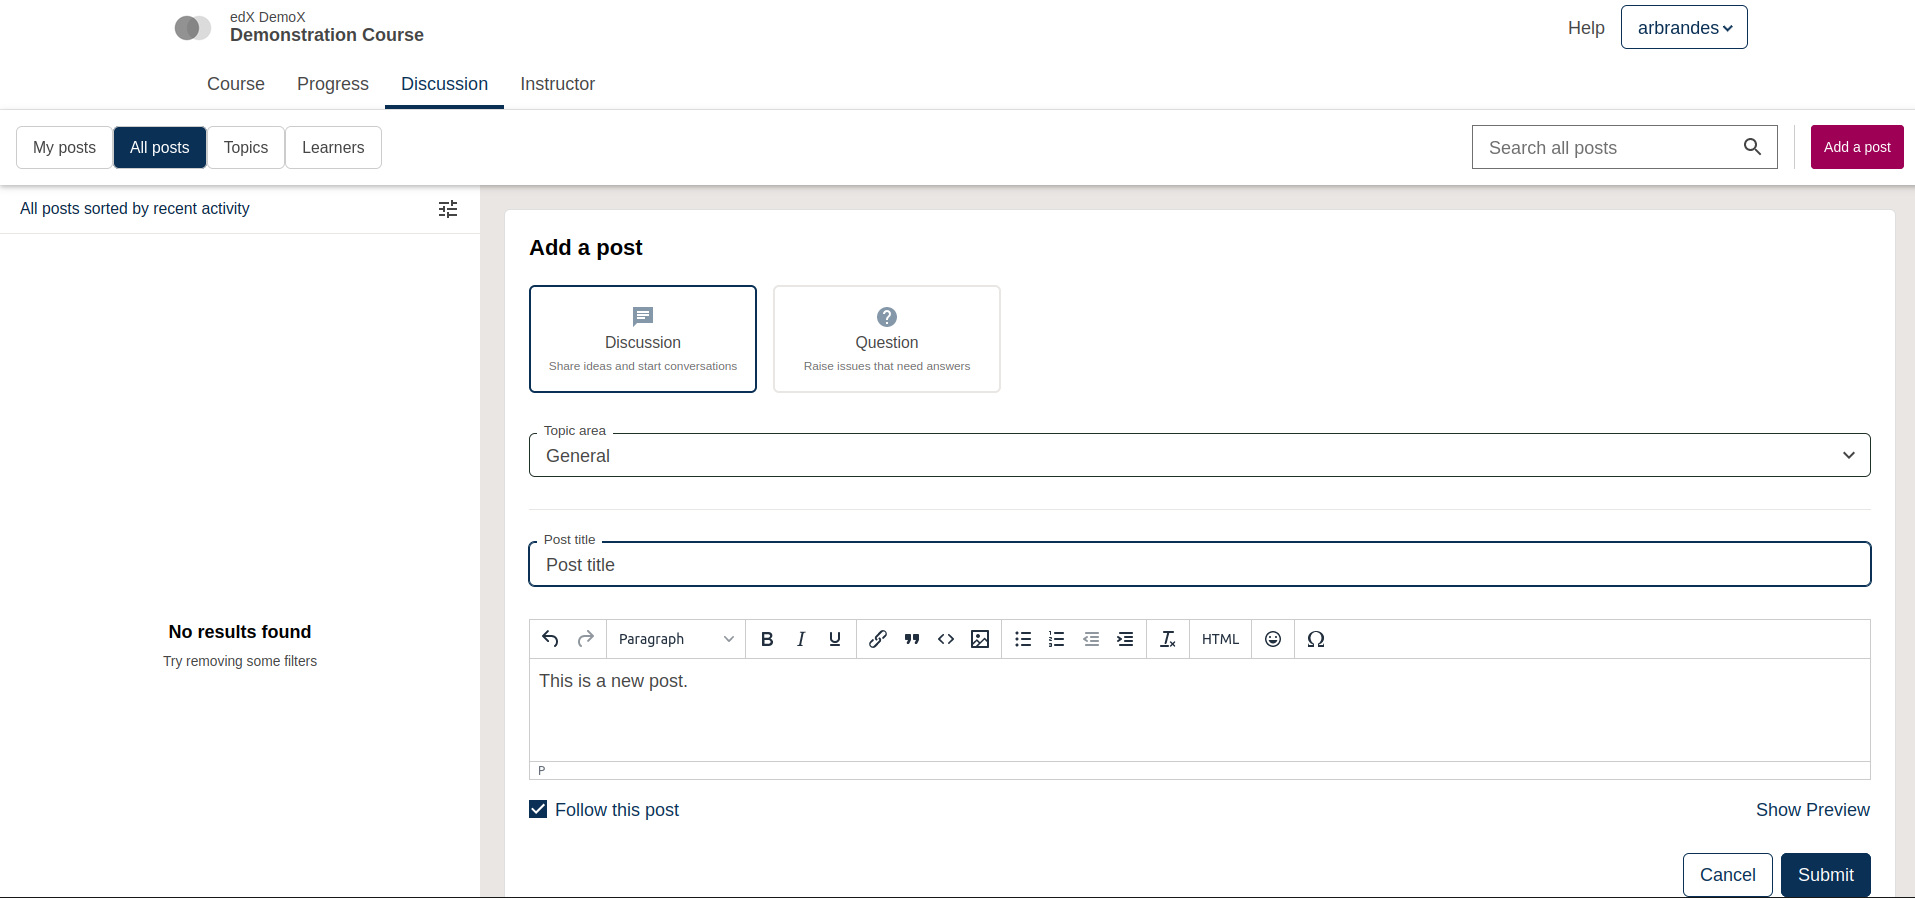
The Discussions MFE updates the previous discussions UI with a new look and better features.
Gradebook
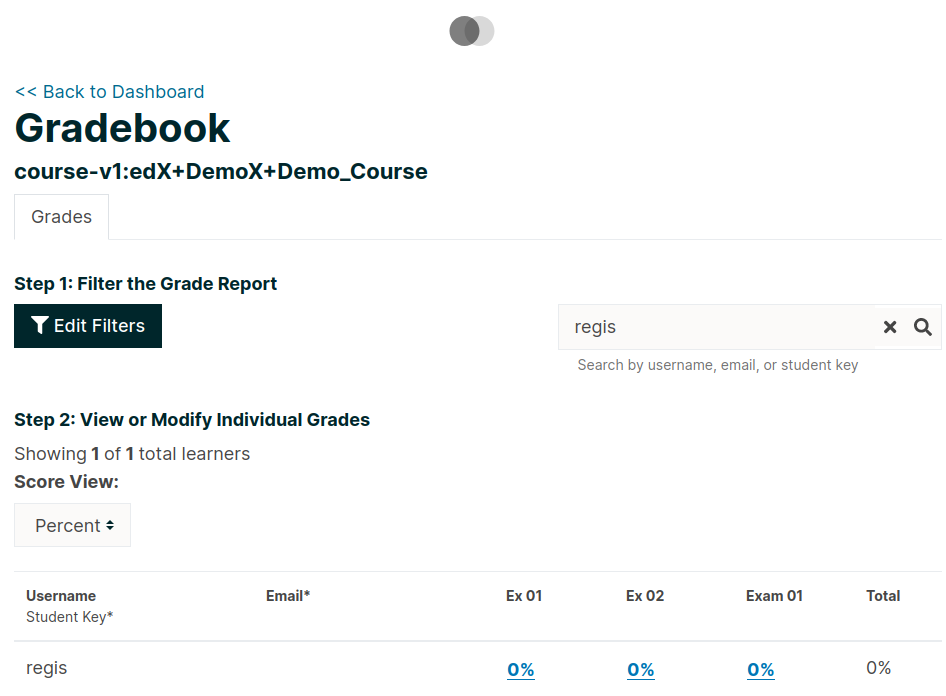
This instructor-only MFE is for viewing individual and aggregated grade results for a course. To access this MFE, go to a course → Instructor tab → Student Admin → View gradebook. The URL should be: http(s)://{{ MFE_HOST }}/gradebook/{{ course ID }}. When running locally, the gradebook of the demo course is available at: http://apps.local.edly.io/gradebook/course-v1:edX+DemoX+Demo_Course
Learner Dashboard
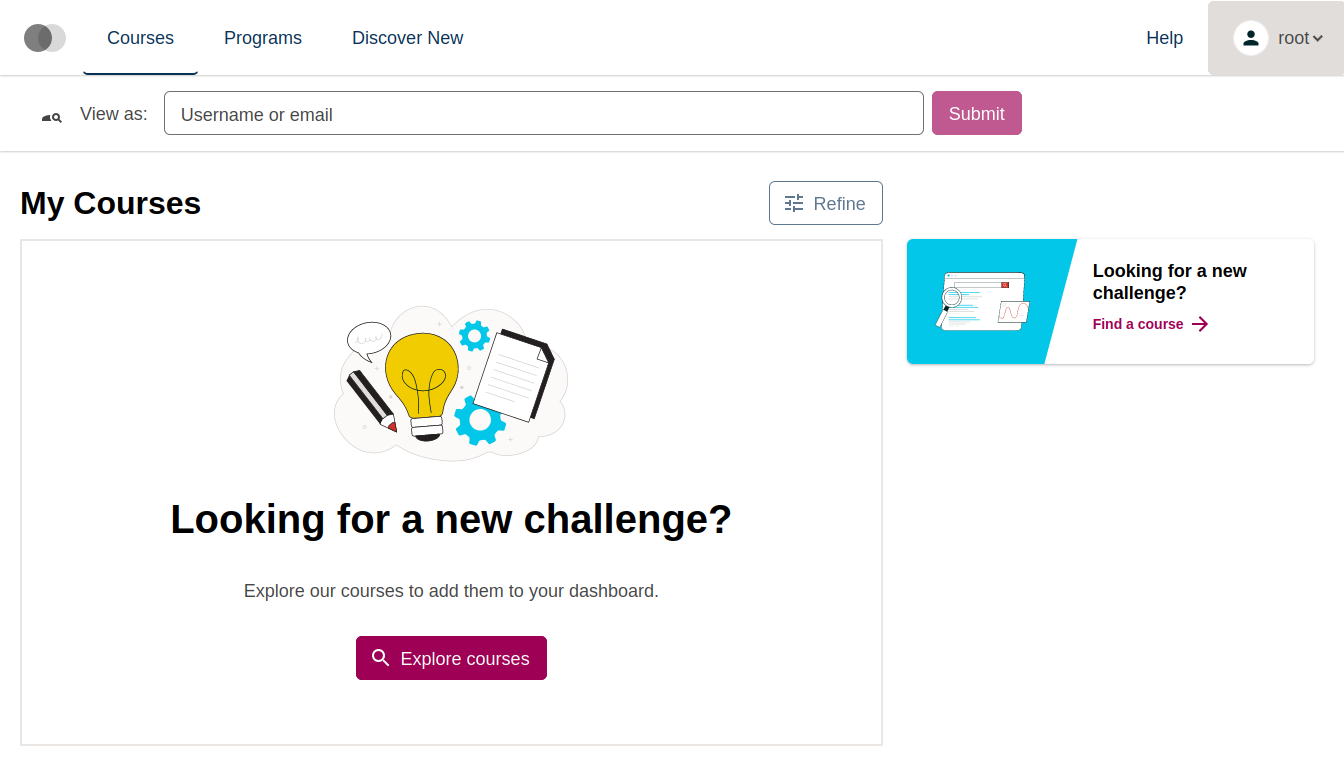
The Learner Dashboard MFE provides a clean and functional interface to allow learners to view all of their open enrollments, as well as take relevant actions on those enrollments.
Learning
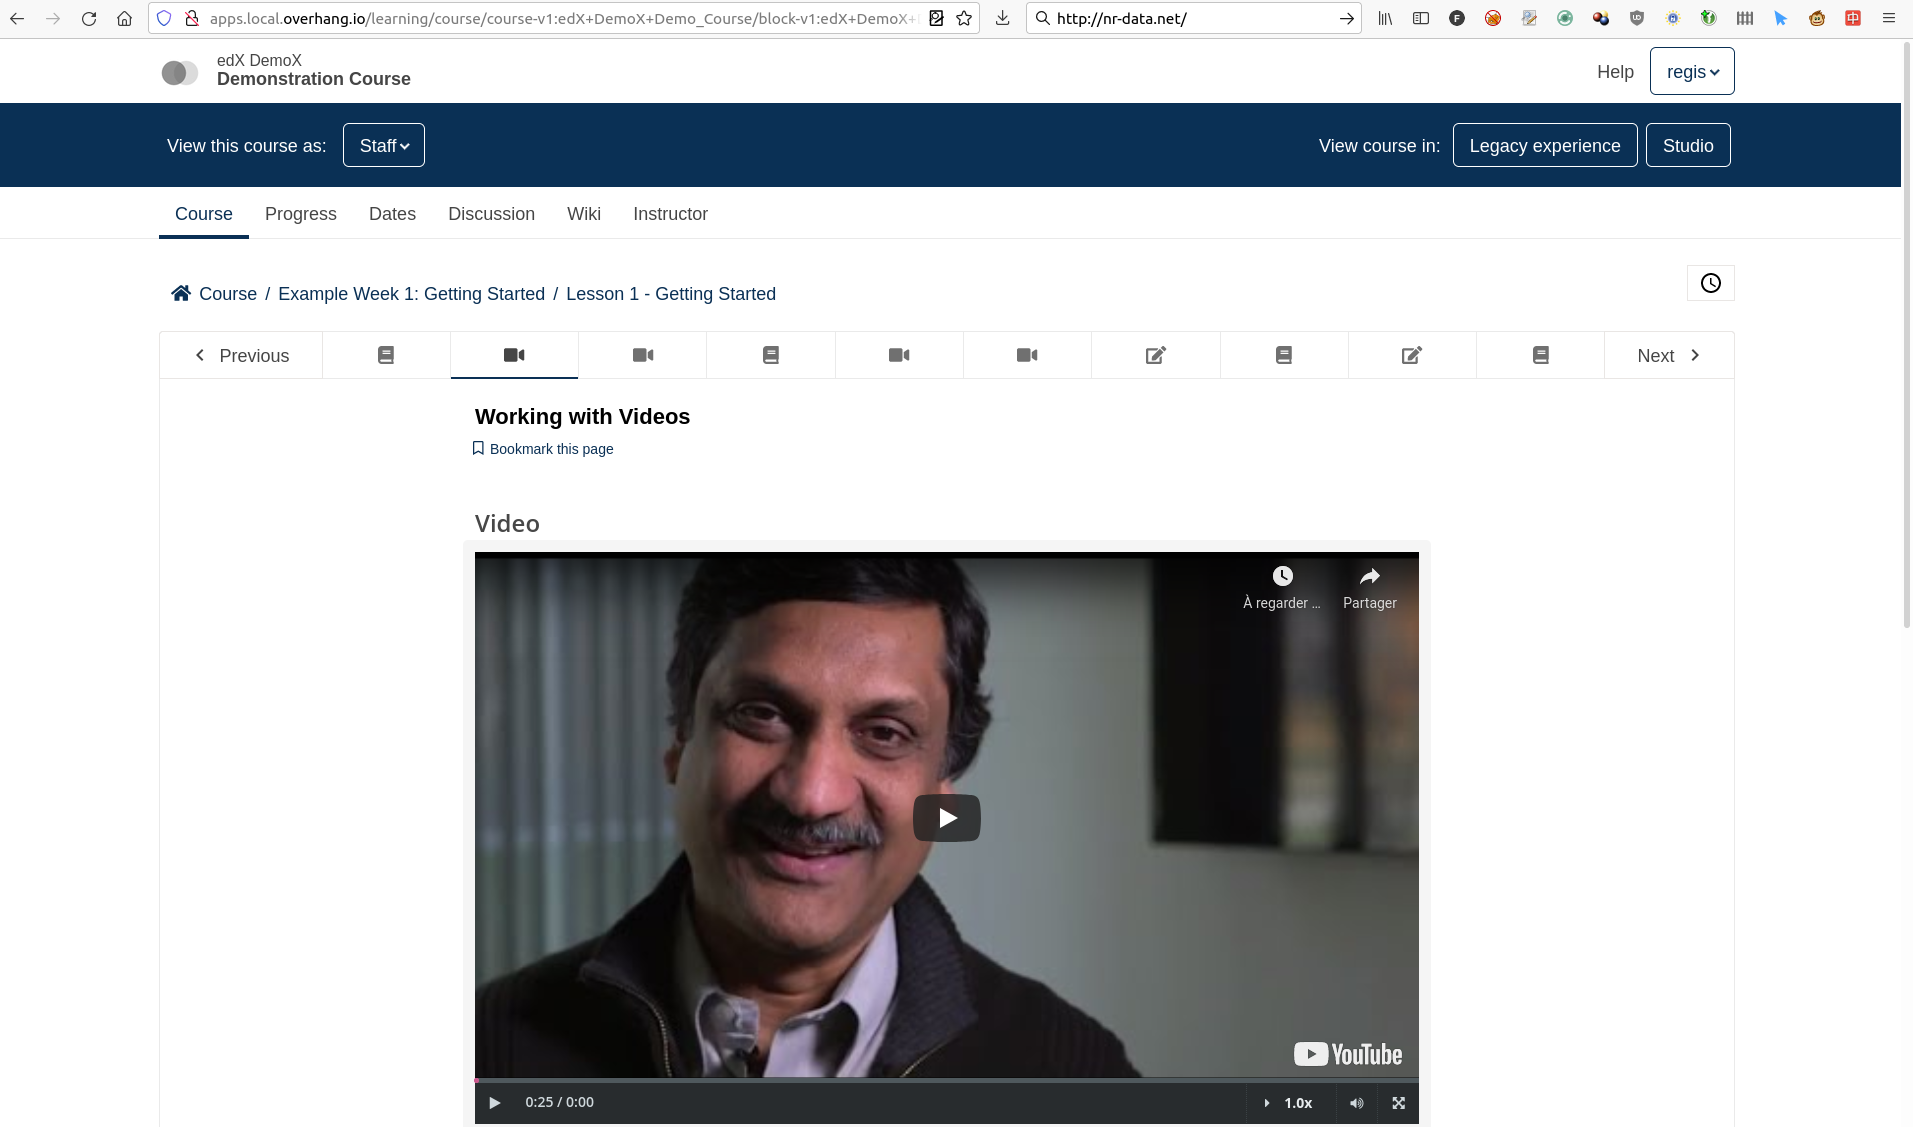
The Learning MFE replaces the former courseware, which is the core part of the LMS where students follow courses.
ORA Grading
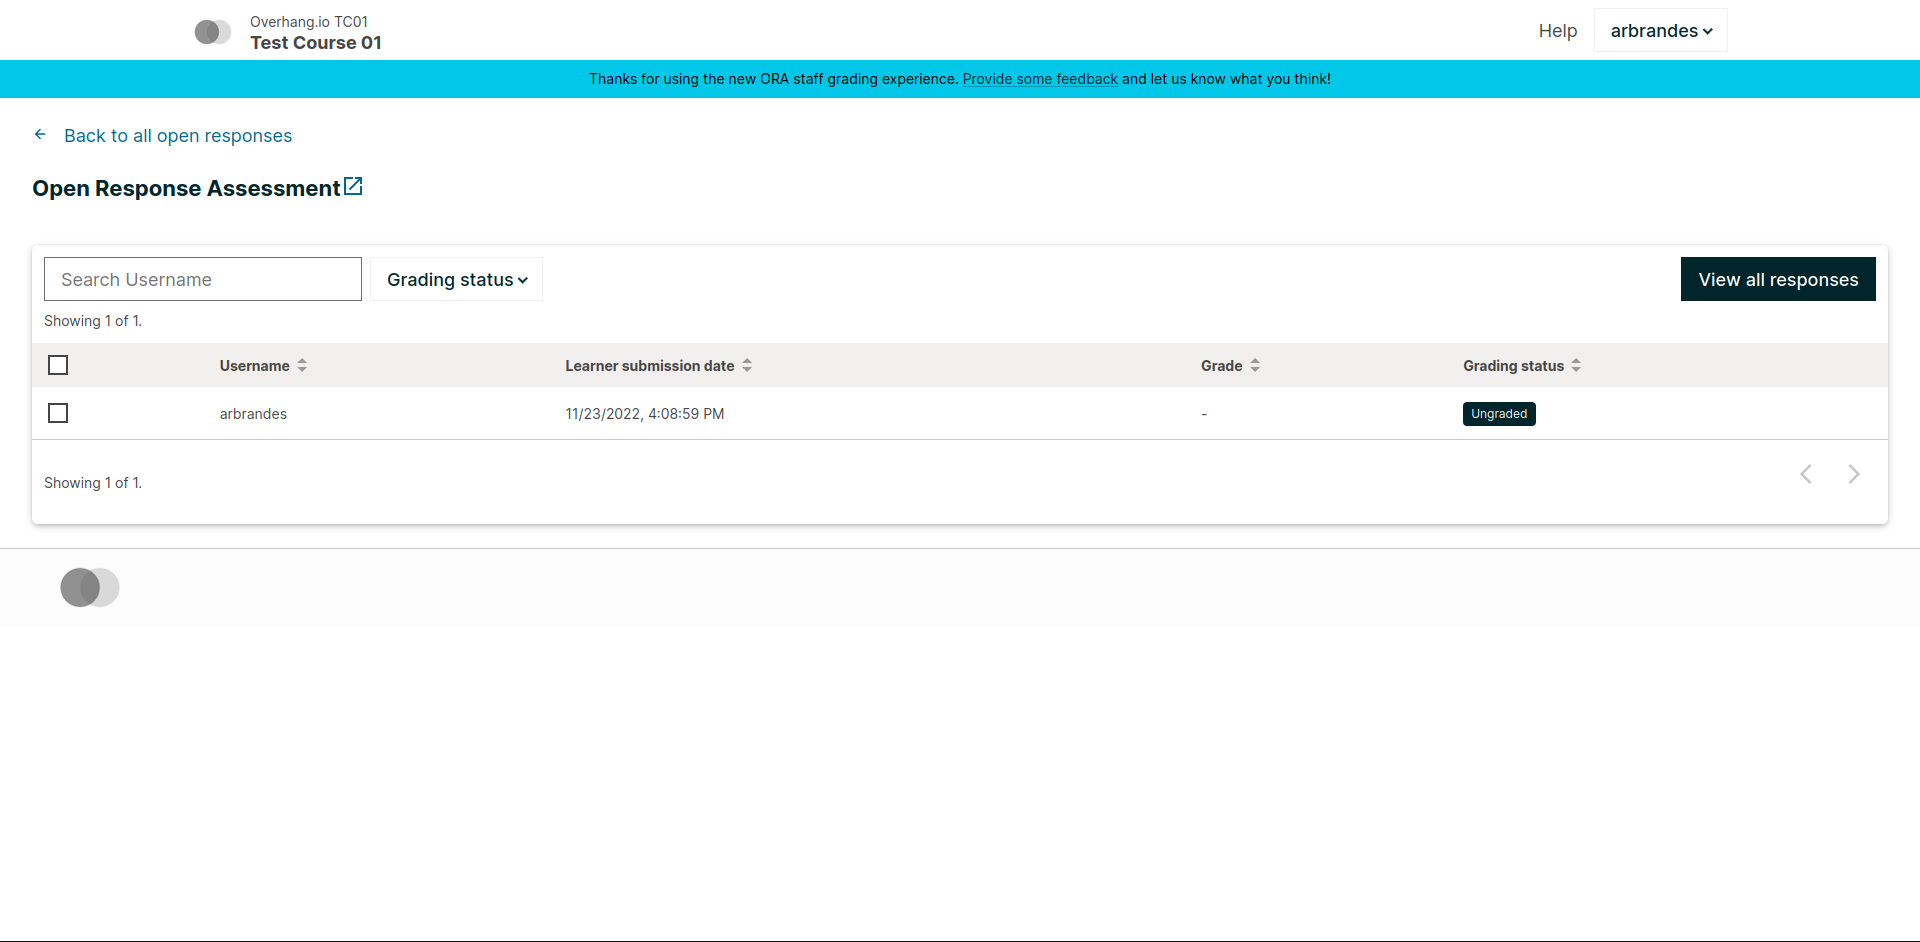
When enabled, Open Response Assessments ("ORA") that have a staff grading step will link to this new MFE, either when clicking "Grade Available Responses" from the exercise itself, or via a link in the Instructor Dashboard. It is meant to streamline the grading process with better previews of submitted content.
Profile
Edit and display user-specific profile information. The profile page of every user is visible at http(s)://{{ MFE_HOST }}/profile/u/{{ username }}. For instance, when running locally, the profile page of the "admin" user is: http://apps.local.edly.io/profile/u/admin.
MFE management
Adding new MFEs
⚠️ Warnings
- As of Tutor v16 (Palm release) it is no longer possible to add new MFEs by creating *_MFE_APP settings. Instead, users must implement the approach described below.
- As of Tutor v17 (Quince release) you must make sure that the git URL of your MFE repository ends with .git. Otherwise the plugin build will fail.
- As of Tutor v18 (Redwood release) all MFEs must provide a make pull_translations command. Otherwise the plugin build will fail. Providing an empty command is enough to bypass this requirement. See the Custom translations section for more information.
Other MFE developers can take advantage of this plugin to deploy their own MFEs. To declare a new MFE, create a Tutor plugin and add your MFE configuration to the tutormfe.hooks.MFE_APPS filter. This configuration should include the name, git repository (and optionally: git branch or tag) and development port. For example:
The MFE assets will then be bundled in the "mfe" Docker image whenever it is rebuilt with tutor images build mfe.
Assets will be served at http(s)://{{ MFE_HOST }}/mymfe. Developers are free to add extra template patches to their plugins, as usual: for instance LMS setting patches to make sure that the LMS correctly connects to the MFEs.
Disabling individual MFEs
To disable an existing MFE, remove the corresponding entry from the MFE_APPS filter. For instance, to disable some of the MFEs that ship with this plugin:
Using custom translations to your MFEs
During docker image build, this plugin runs make pull_translations for each Micro-frontend. This program is used in the Dockerfile to pull translations from the openedx/openedx-translations repository via openedx-atlas.
The make pull_translations command passes the ATLAS_OPTIONS environment variable to the atlas pull command. This allows specifying a custom repository or branch to pull translations from.
Translations in the MFE plugin as well as other Tutor plugins can be customized with the following configuration variables:
- ATLAS_REVISION (default: "main" on nightly and "{{ OPENEDX_COMMON_VERSION }}" if a named release is used)
- ATLAS_REPOSITORY (default: "openedx/openedx-translations").
- ATLAS_OPTIONS (default: "") Pass additional arguments to atlas pull. Refer to the atlas documentations for more information.
The Getting and customizing Translations section in the Tutor configuration documentation explains how to do this.
Customising MFEs
To change the MFEs logos from the default to your own logos, override the corresponding settings in the MFEs environment using patches mfe-lms-production-settings and mfe-lms-development-settings. For example, using the following plugin:
If patches are the same in development and production, they can be replaced by a single mfe-lms-common-settings patch.
To install custom components for the MFEs, such as the header and footer, override the components by adding a patch to mfe-dockerfile-post-npm-install in your plugin:
The same applies to installing a custom brand package:
In both cases above, the npm commands affect every MFE being built. If you want have different commands apply to different MFEs, you can add one or more patches to mfe-dockerfile-post-npm-install-* instead. For instance, you could install one particular version of the header to the Learning MFE by patching mfe-dockerfile-post-npm-install-learning, and another one to the ORA Grading MFE by patching mfe-dockerfile-post-npm-install-ora-grading:
In case you need to run additional instructions just before the build step you can use the mfe-dockerfile-pre-npm-build or mfe-dockerfile-pre-npm-build-* patches. For example, you may want to override existing env variables or define new ones.
You can find more patches in the patch catalog below.
Installing from a private npm registry
In case you need to install components from a private NPM registry, you can append the --registry option to your install statement or add a npm config set command to the plugin. In some cases, for example when using GitLab's NPM package registry, you might also need to provide a token for your registry, which can be done with an additional npm config set command as well:
MFE development
Tutor makes it possible to run any MFE in development mode. For instance, to run the "profile" MFE:
tutor dev start profile
Then, access http://apps.local.edly.io:1995/profile/u/YOURUSERNAME
You can also bind-mount your own fork of an MFE. For example:
tutor mounts add /path/to/frontend-app-profile
tutor dev launch
The name of the bind-mount folder needs to match the name of the repository word-for-word. If you've forked an MFE repository with a custom name, be sure to change the name back to ensure the bind-mount works properly.
With this change, the "profile-dev" image will be automatically re-built during launch. Your host repository will then be bind-mounted at runtime in the "profile" container. This means that changes you make to the host repository will be automatically picked up and hot-reloaded by your development server.
This works for custom MFEs, as well. For example, if you added your own MFE named frontend-app-myapp, then you can bind-mount it like so:
tutor mounts add /path/to/frontend-app-myapp
Similarly, in production, the "mfe" Docker image will be rebuilt automatically during tutor local launch.
Docker tries to run as many build processes in parallel as possible, but this can cause failures in the MFE image build. If you're running into OOM issues, RAM starvation, or network failures during NPM installs, try the following before restarting:
cat >buildkitd.toml <<EOF
[worker.oci]
  max-parallelism = 1
EOF
docker buildx create --use --name=singlecpu --config=./buildkitd.toml
Uninstall
To disable this plugin run:
tutor plugins disable mfe
You will also have to manually remove a few settings:
# MFE account
tutor local run lms ./manage.py lms waffle_delete --flags account.redirect_to_microfrontend

# MFE profile
tutor local run lms ./manage.py lms waffle_delete --flags learner_profile.redirect_to_microfrontend
tutor local run lms ./manage.py lms waffle_delete --flags discussions.pages_and_resources_mfe
tutor local run lms ./manage.py lms waffle_delete --flags new_core_editors.use_new_text_editor
tutor local run lms ./manage.py lms waffle_delete --flags new_core_editors.use_new_video_editor
tutor local run lms ./manage.py lms waffle_delete --flags new_core_editors.use_new_problem_editor
tutor local run lms site-configuration unset ENABLE_PROFILE_MICROFRONTEND

# MFE discussions
tutor local run lms ./manage.py lms waffle_delete --flags discussions.enable_discussions_mfe
tutor local run lms ./manage.py lms waffle_delete --flags discussions.enable_learners_tab_in_discussions_mfe
tutor local run lms ./manage.py lms waffle_delete --flags discussions.enable_moderation_reason_codes
tutor local run lms ./manage.py lms waffle_delete --flags discussions.enable_reported_content_email_notifications
tutor local run lms ./manage.py lms waffle_delete --flags discussions.enable_learners_stats

# MFE ora-grading
tutor local run lms ./manage.py lms waffle_delete --flags openresponseassessment.enhanced_staff_grader
Finally, restart the platform with:
tutor local launch
Template patch catalog
This is the list of all patches used across tutor-mfe (outside of any plugin). Alternatively, you can search for patches in tutor-mfe templates by grepping the source code:
mfe-lms-development-settings
Python-formatted LMS settings in development. Values defined here override the values from mfe-lms-common-settings or mfe-lms-production-settings. For an example on the usage of this patch, check out this section.
File changed: apps/openedx/settings/lms/development.py
mfe-lms-production-settings
Python-formatted LMS settings in production. Values defined here override the values from mfe-lms-common-settings. For an example on the usage of this patch, check out this section.
File changed: apps/openedx/settings/lms/production.py
mfe-lms-common-settings
Python-formatted LMS settings used both in production and development.
File changed: apps/openedx/settings/partials/common_lms.py
mfe-webpack-dev-config
Add any configurations at the end of the development webpack config file in Javascript format.
File changed: tutormfe/templates/mfe/apps/mfe/webpack.dev-tutor.config.js
mfe-dockerfile-pre-npm-install
Add any instructions for before the npm install is initiated.
File changed: tutormfe/templates/mfe/build/mfe/Dockerfile
mfe-dockerfile-pre-npm-install-{}
Add any instructions for before the npm install is initiated for a specific MFE. Add the exact MFE name at the end to only change instructions for that MFE.
Example: mfe-dockerfile-pre-npm-install-learning will only apply any instructions specified for the learning MFE.
File changed: tutormfe/templates/mfe/build/mfe/Dockerfile
mfe-dockerfile-production-final
Add any instructions in the final layer. Useful for overriding the CMD or ENTRYPOINT.
File changed: tutormfe/templates/mfe/build/mfe/Dockerfile
mfe-dockerfile-post-npm-install
Add any instructions for after the npm install has completed. This will apply the instructions to every MFE. For an example on the usage of this patch, check out here.
File changed: tutormfe/templates/mfe/build/mfe/Dockerfile
mfe-dockerfile-post-npm-install-{}
Add any instructions for after the npm install has completed for a specific MFE. Add the exact MFE name at the end to only change instructions for that MFE. For an example on the usage of this patch, check out here.
Example: mfe-dockerfile-post-npm-install-authn will only apply any instructions specified for the authn MFE.
File changed: tutormfe/templates/mfe/build/mfe/Dockerfile
mfe-dockerfile-pre-npm-build
Add any instructions for before the build step initializes. This will apply the instructions to every MFE. For an example on the usage of this patch, see over here.
File changed: tutormfe/templates/mfe/build/mfe/Dockerfile
mfe-dockerfile-pre-npm-build-{}
Add any instructions for before the build step initializes for a specific MFE. Add the exact MFE name at the end to only change instructions for that MFE. For an example on the usage of this patch, see over here.
Example: mfe-dockerfile-post-npm-build-learning will only apply any instructions specified for the learning MFE.
File changed: tutormfe/templates/mfe/build/mfe/Dockerfile
mfe-dockerfile-post-npm-build
Add any instructions for after the build step has completed. This will apply the instructions to every MFE.
File changed: tutormfe/templates/mfe/build/mfe/Dockerfile
mfe-dockerfile-post-npm-build-{}
Add any instructions for after the build step has completed for a specific MFE. Add the exact MFE name at the end to only change instructions for that MFE.
Example: mfe-dockerfile-post-npm-build-learning will only apply any instructions specified for the learning MFE.
File changed: tutormfe/templates/mfe/build/mfe/Dockerfile
mfe-caddyfile
Add any configurations for the mfe-caddyfile.
File changed: tutormfe/templates/mfe/apps/mfe/Caddyfile
Troubleshooting
NPM Dependency Conflict When overriding @edx/frontend-component-header or @edx/frontend-component-footer
When there is a need to customize the @edx/frontend-component-header or @edx/frontend-component-footer component, there is a chance that npm dependency conflicts can occur. In the case of such a conflict, perform the following to resolve the conflicts while keeping the customizations in place:
- Identify your openedx version, for example, quince.
- Navigate to Learning and Learner Dashboard MFEs repositories and checkout to branch open-release/quince.master. Inspect which header and footer versions are installed from package.json. Learning and Learner Dashboard MFEs are mentioned only as an example. Hence, This step can be applied to all MFEs.
- Determine the versions of @edx/frontend-platform used in MFEs. Also, check that the header/footer you plan to customize is compatible with the same version of @edx/frontend-platform specified in their package.json file (peer-dependencies).
- Ensure consistency between the versions. For example, If MFE has @edx/frontend-platform: 7.0.1, then customize the header/footer component which has @edx/frontend-platform: ^7.0.0 in package.json under peer-dependencies
- Checkout to that specific tag (e.g: v7.0.0) of header component and customize it
- Install the customized header/footer components into your MFEs. This will resolve any npm dependency conflict issues.
- All the steps outlined above need to be followed for the footer as well, if you have followed them for the header or vice versa.

From the above image, it can be observed that master branch of Learning MFE uses @edx/platform@5.6.1 and Discussions MFE uses @edx/platform@7.1.0. If customized header is created from master branch, it ensures compatibility with the Discussions MFE as header module supports @edx/platform@^7.0.0. However, the customized header triggers npm dependencies conflit error for learning MFE. In this case, checkout custom branch from v4.11.1 of header for Learning MFE and v5.0.0 for Discussions MFE. You can install your customized header versions in their respective MFEs as shown below:
hooks.Filters.ENV_PATCHES.add_items(
    [
        (
            "mfe-dockerfile-post-npm-install-learning",
            """
    RUN npm install '@edx/frontend-component-header@npm:@custom/frontend-component-header@^4.11.1'
    """
        ),
        (
            "mfe-dockerfile-post-npm-install-discussions",
            """
    RUN npm install '@edx/frontend-component-header@npm:@custom/frontend-component-header@^5.0.0'
    """
        ),
    ]
)
This Tutor plugin is maintained by Adolfo Brandes from tCRIL. Community support is available from the official Open edX forum. Do you need help with this plugin? See the troubleshooting section from the Tutor documentation.
License
This software is licensed under the terms of the GNU Affero General Public License (AGPL).